To the UI for specifying the display range of time series graphs
The default is to show the most recent X days, and you can specify any date in the calendar when you need it."
I often see things like this.
But I can't do the equivalent with Tableau's date filter.
The "Show Last X Days" allows you to set the date filter to "Relative Date". The "Any date" can be set to "Range of dates".
Unfortunately, however, it is not possible to have "relative dates" and "date ranges" at the same time.
However, it is possible with some ingenuity, and we have previously summarized how to do this in the following article.
But now there is another way that is better, and I would like to introduce it to you.
procedure
Create date when opened
Create the initial date when the workbook is opened with Calculation Field.
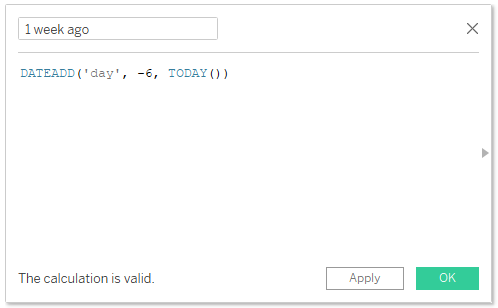
Create "one week ago" date
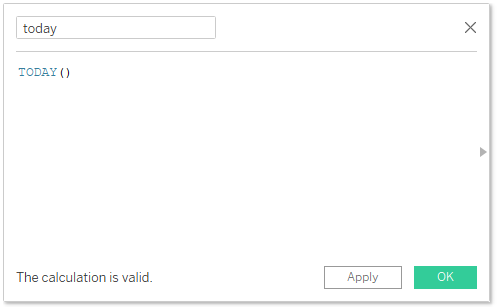
Create "today" date
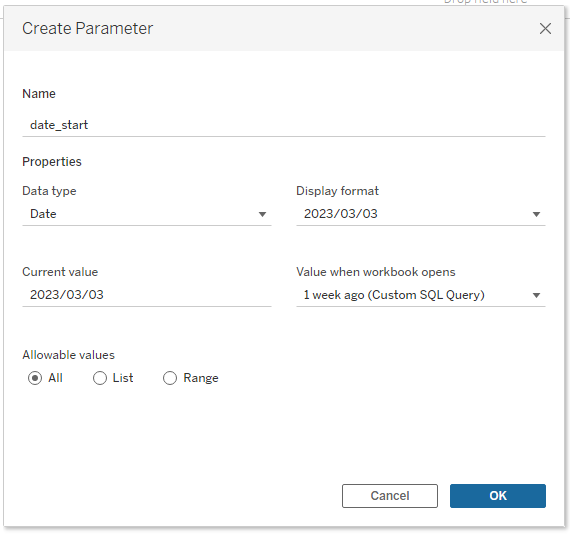
Creation of "start date" and "end date" parameters
Create a "start date" and "end date" in parameter.
When the workbook is opened, set the values to "1 week ago" and "today" that you just created in Calculation Field.

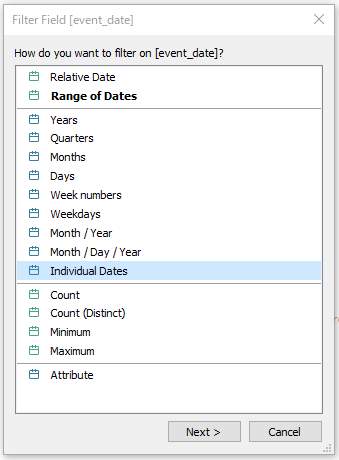
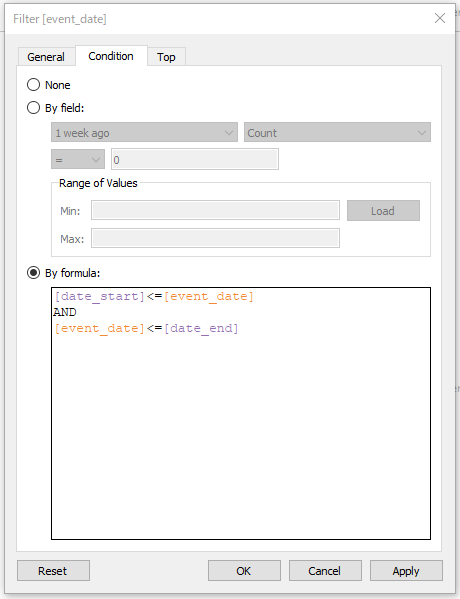
Set date filter criteria
Put the date in the filter and set the condition from "start date" to "end date" of parameter.
Finish
When you open the workbook, it will be from "1 lap ago" to "today".
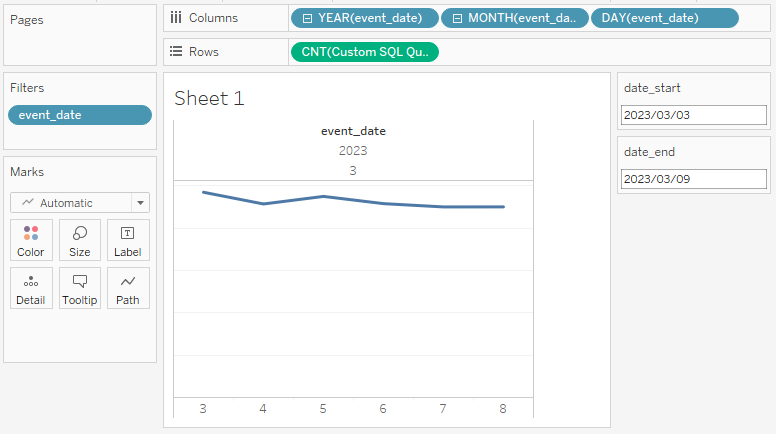
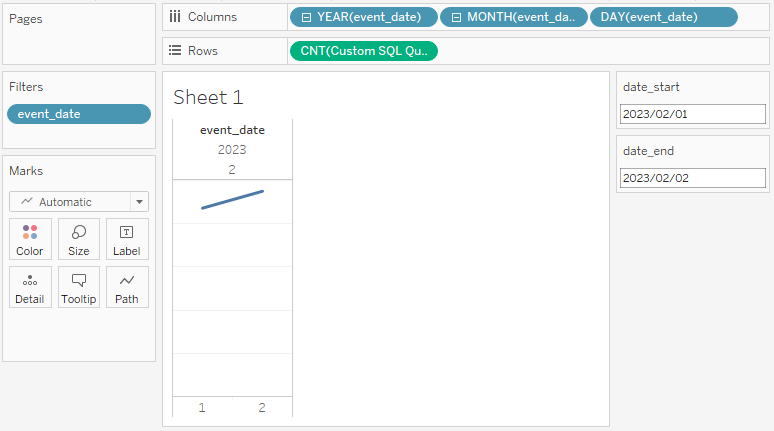
The "start date" and "end date" can be changed to any date.
Use common ranges across multiple data sources
If you create a date Calculation Field in one data source and then open another data source first, the date range will not work in the other data source because the calculation for Calculation Field has not yet been done.
Such a common date range for multiple data sources can be successfully used by having a dedicated data source for date sharing.
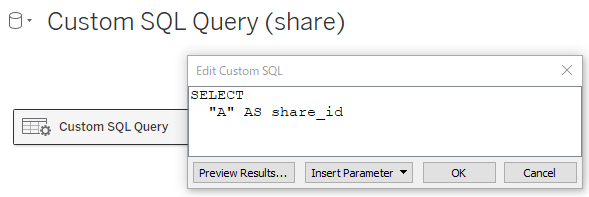
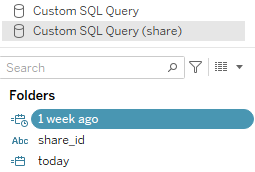
Create a shared data source
Create a shared data source and add the IDs to be shared within it.
Date Creation
Create a date in the shared data source Calculation Field.
Also, the value when the workbook parameter is opened should be Calculation Field, which was created using the shared data source.

Creating a Shared ID
Create an ID in Calculation Field for the data source to be used that is the same as the shared ID of the shared data source.
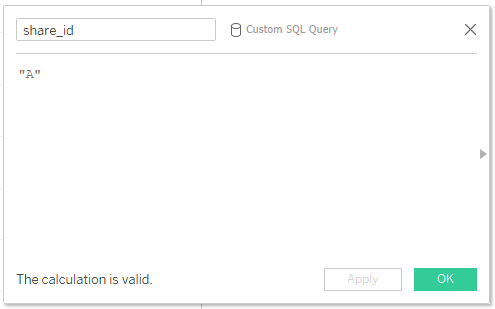
Then, link the shared ID of the data source to be used with the shared ID of the shared data source.
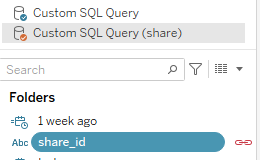
That is all.
Now, no matter which data source is opened, the date Calculation Field of the first linked shared data source will be calculated, so that a common date range applies to multiple data sources.
Impressions, etc.
It is much easier to use than before, but it would still be very convenient to have it as a default function.